
So Christmas is tomorrow and you didn’t get a nance to get your nails did? Don’t worry – I got you covered. Here are the easiest christmas nails I have ever done in my life using just a toothpick.

Here’s how it’s done:

I chose to use a dark colour for my background colour but a pale pink looks good too! I painted all my nails with two coats of an OPI base coat and then 2 coats of Essie Bobbing for Baubles.
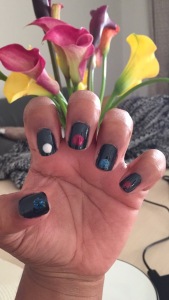
I then drew circles using normal/shimmery colours of the glitter I was going to paint on top. I did this using toothpick I blunted the end of. The shapes don’t have to have smooth edges because the glitter smooths this out.
Aim to make the circles centred but towards the lower half of the nail.

Next, I went over the block colours with the glitter polish. The colours underneath makes them pop more!
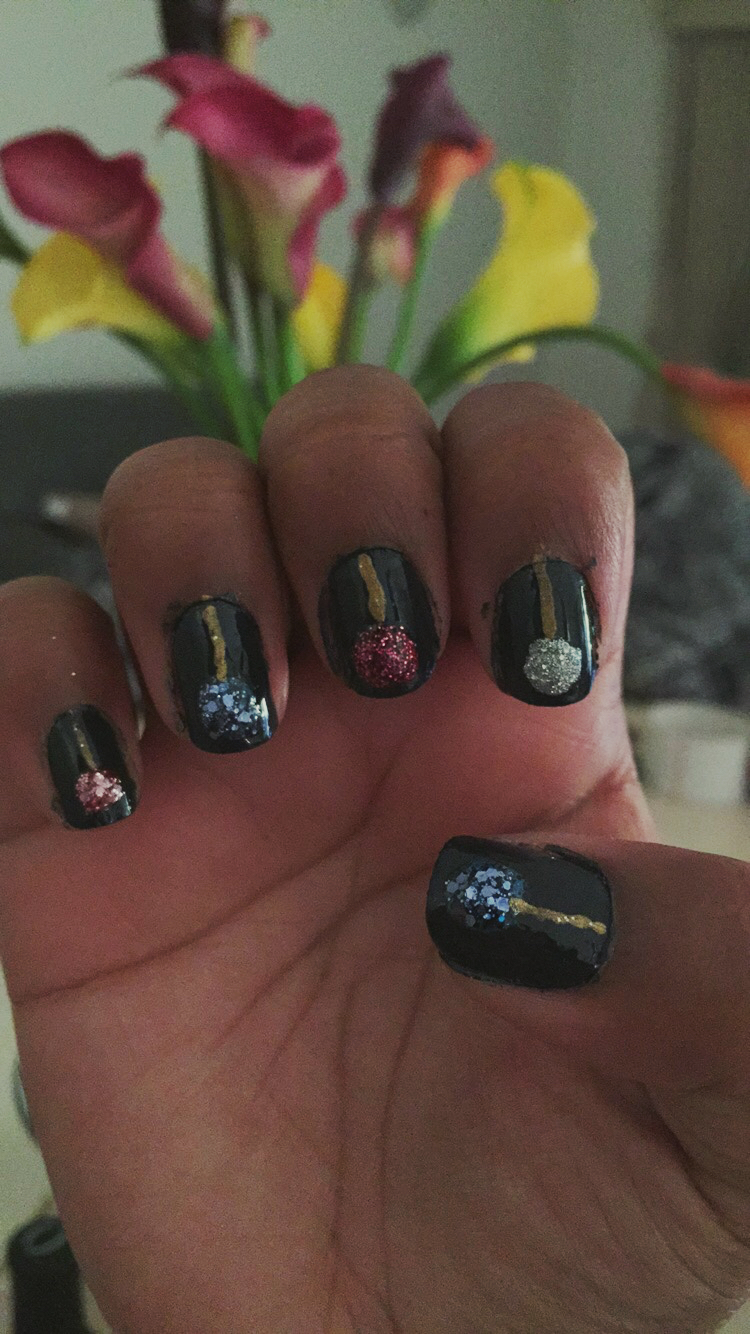
Then, I drew a line from the middle of the top of my nail to the middle of the bauble.

I then drew in triangles to make a bow.
Two top coats later and I’m done!!!
Make sure you show me if you try this design! (Tag me on Instagram @ByMeneka)
